February 2013
I compressed the railroad yet again. The south end had never been sceniced so I never noticed the impact of rain run-off from rain till the scenery was done. Crap.
Shortened the length about 10 feet to avoid the impact of water. Also experimented with a better way to do the track. Judt starting to relay the mainlines. Simplified scheme will have the west side as the town/associated industry while the east side of the view block will be staging yard.
UPDATE early October 2012
South about 99.9% done - still want some small trees for distance perspective. Have some track issues to resolve due to humidity induced swelling. Also considering a re-alignment on parts of the eastern side of the railway. Finalizing the staging yard plans. May now incorporate into a larger but viewable yard.
Also considering switching the deck and sub-deck from 3/4" plywood to 2" styrene board used as radiant heat barrier for outside walls. It is coated on one side with a foil skin and clear plastic on the other. This is not to be confused with the Woodland Scenics styrene riser product which is relatively fragile. This stuff is stiff and also comes in various thickness.
UPDATE July 27, 2012
The south and north end scenery and view blocks are coming along. The south end should wrap up in the next 2 to 3 weeks. North end has been started with rock formations. View block is next.
UPDATE May 8, 2012
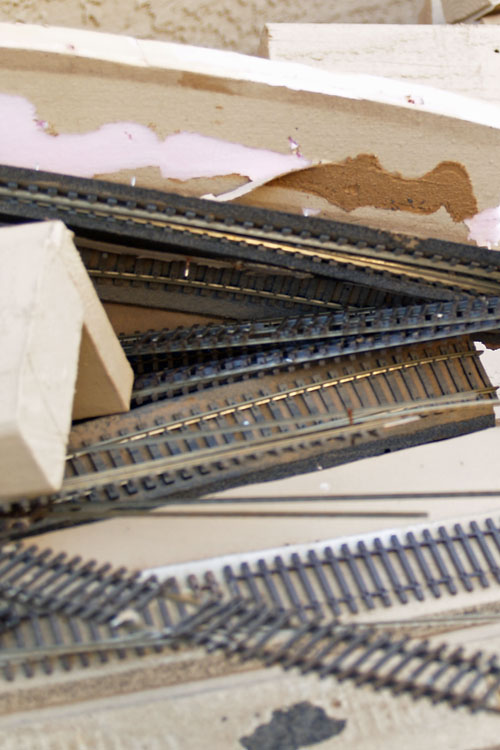
The Fast Tracks fixtures are an invaluable resource for those of us who choose to hand lay track for whatever reason. Even so, it is not a fast process. Both mainline tracks are now done and any associated turnouts installed. Most drops are in place and only a few ties need to be placed before airbrushing with Floquil Railroad Tie Brown. And then of course we can ballast.
Figure on about 30 minutes per 3 foot section - inspecting clad ties for proper gaps, flux application, soldering, alcohol clean up of flux residue, and tie application (Quick Sticks are a much quicker process than doing individual ties).
I was not diligent on inspecting the ties for proper gap in the first sections - I expected then to be perfect as they were a machine based product. Not so. Still, only about 6 bad ties but the took 10 hours to find once a section of track (100 feet) had been installed. Two caused dead shorts while the others were merely shunting power. Now, it's 100% visual and testing as the sections are installed and connected to the bus.
UPDATE February 18, 2012
UPDATE December 4, 2011
After a seeming eternity of waiting for supplies, cooler weather, retirement, etc, re-building has begun.
I chose to order my curved and straight track fixtures from Fast Tracks (http://www.handlaidtrack.com) just as Tim Warris was moving his operation to a larger facility. So, the order took 6 weeks to deliver. By then I had revised the track plan, that and I left off the critical rail bender from the order, so I placed a follow up order. I received this order within 2 weeks - half of that being transit time from Canada, so I am happy.
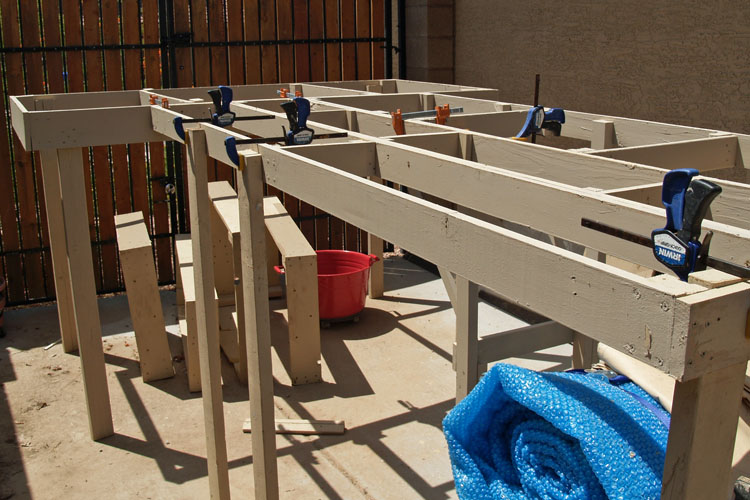
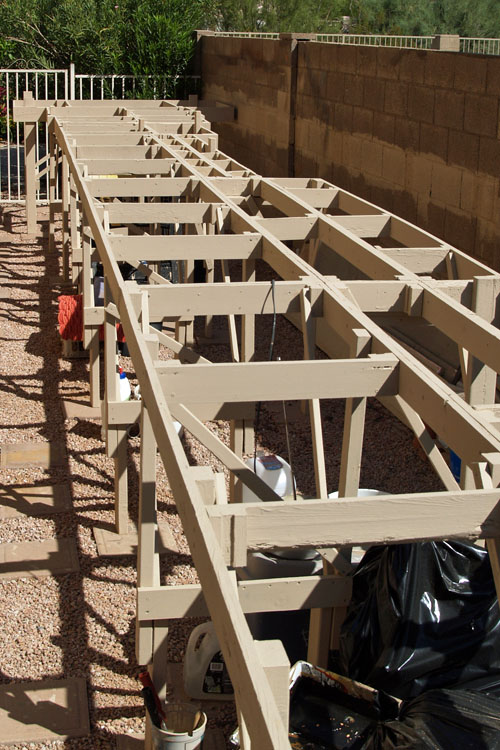
I have now fabricated about 50% of the .750" exterior grade plywood including multiple coats of elastomeric paint. I cut the critical ends as a single sections for stability. I an now constructing and placing the risers for the plywood while simultaneously fabricating the corner rail sections using the Fast Tracks templates. This is one of the lessons gained from the first layout where I set the .50-inch plywood and dense foam directly on the bench work with less than optimal results in terms of level. These sections became problematic.
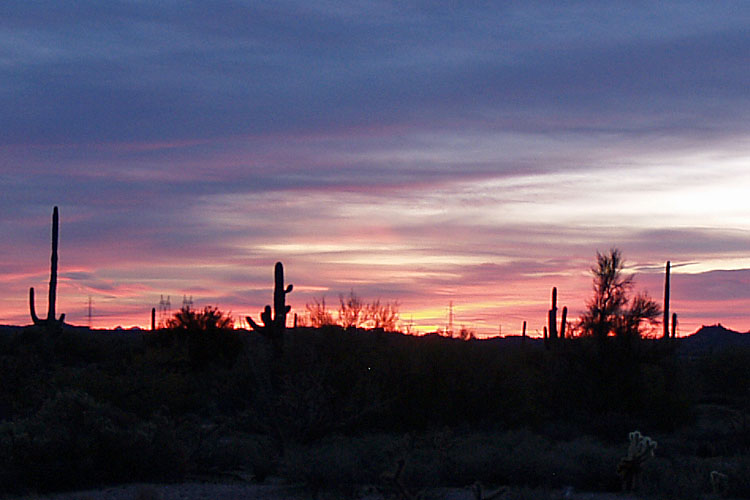
This is the sunrise of my first day of retirement.
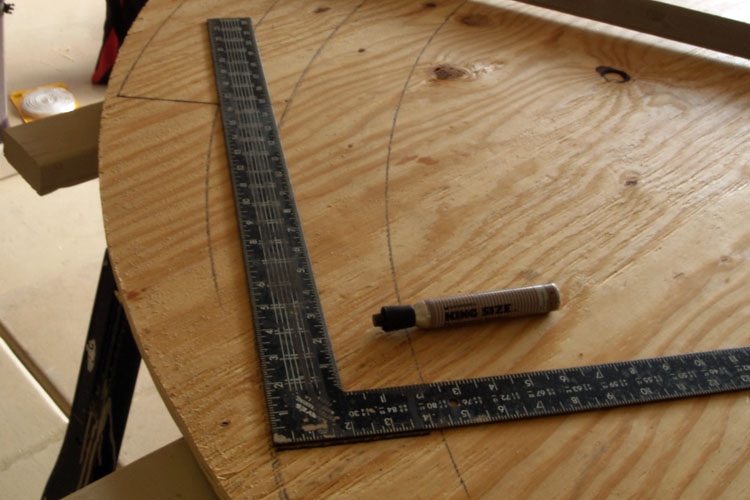
I bought a Micro Mark trammel set and it allows easy, repeatable, and accurate radius drawing. I have a laser scroll saw but the quickest cut through the 3/4" plywood is the Sawzall. A little practice and the cuts are as accurate as you want them to be.
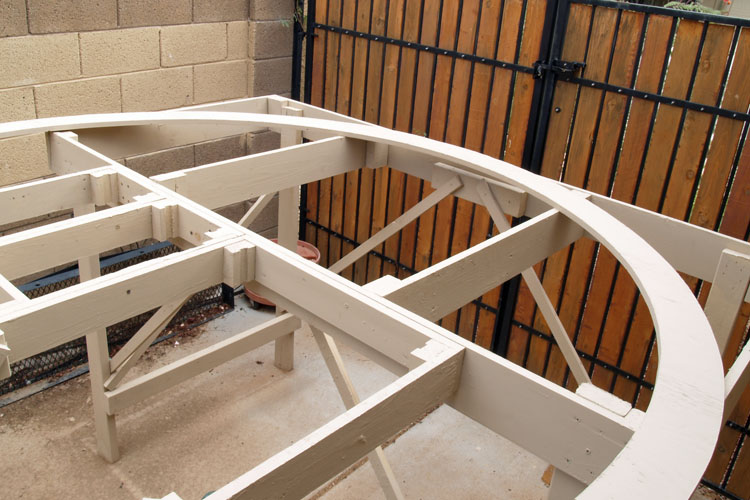
All track bed will sit on risers and not directly on the bench. Since the photo was taken, additional framing has been added to support the road bed.
July 2011
Well, I came to the conclusion that the current model railroad is too much to maintain in this environment. So it is time to bring it under control. There is too much track and way too many "duck-unders". Just protecting all the track from the Sun was defeating the potential for fun.
I am in the process of disassembling the current bench work and when re-constructed, the railroad will feature a simpler the track plan. A major part of the motivation is the N-scale model railroad featured in "Model Railroad" utilizing a basic rectangle with a center scenery break to allow for 2 entirely different railroad settings depending on which side of the break you were on.
The envisioned layout incorporates basic 40-inch radius curves connected by a 50 foot long bench work of 24-inch wide dominoes set at a height of 52-inches. It is accessible from all sides. It is to be dual track using hand laid code 83 utilizing Fast Tracks products. (www.handlaidtrack.com). The roadbed is now slatted to be 3/4 exterior grade OSB further sealed with elastomeric paint.
I have also learned elaborately made deciduous trees do not hold up in the rain and Sun so we are shifting gears to an alpine climate using evergreens (even the cheapest ones have proven bullet proof after 2 years).
Update Real Late July
It is way more effort to try to salvage parts of the railroad than it is to rip it all out, dispose if it, and begin anew. SOme of the framework has been retained and the rest is becoming Sawzall fodder.
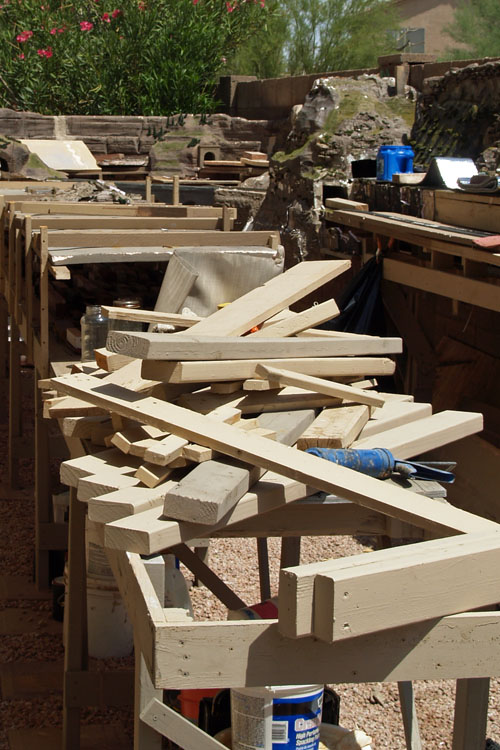
There is a combination of new and reused bench work in this photo. The area near the gate accommodates a 40-inch radii dual track mainline and 24-inch clearance around the bench work. Yea team!
While the bench work is level, the track will be on risers this time. DOH!.